0Item(s)

You have no items in your shopping cart.

pool liners

  • How to Replace an In-Ground Pool Liner

    photo by Nathan Bittinger via Flickr

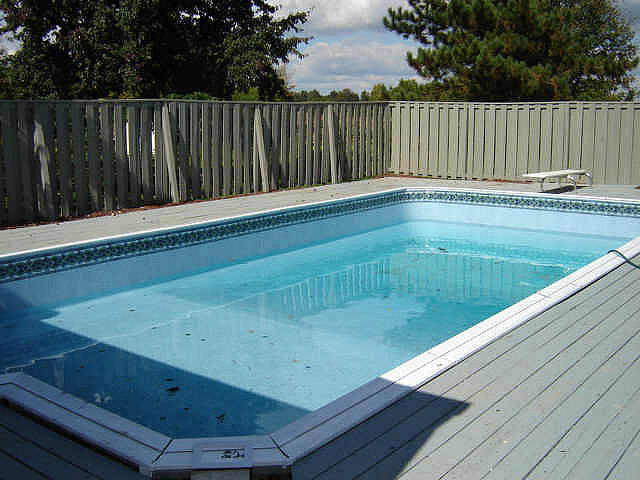
    Over time, your in-ground pool liner will wear out and you'll need to replace it. When that day comes, we heartily recommend finding a qualified professional to do it for you. However, if you are determined to save money by doing it yourself, and you don't mind the hard work, it can be done yourself.

    Before proceeding, contact your pool supplier and get the template for the liner measurements. The contractor who built your pool should have them. Once the measurements are in hand, you can start!

    • Select a liner color and pattern. 
    • When your new liner arrives, drain your pool. Do not drain in advance unless you are certain dry weather is forecasted and you have a mortar-bottom pool. If you have a sand or vermiculite-bottom pool, wait until the last minute to drain.
    • Remove all accessories (ladders, slides, etc.). Remove all hardware (return gaskets, skimmer gasket, face plates, etc.)
    • Carefully inspect the walls of the pools for rust or damage. Where needed, grind and use galvanized steel to repair/limit rust.
    • Carefully inspect the pool floor for cracks or damage. If you find damage, contact a contractor or pool repairman about repairs before you proceed.
    • If all looks good, wash and sweep your pool from top to bottom. Vacuum the pool floor of any collected water.
    • Hang the liner according the manufacturer's instructions. You'll likely need an assistant or two.
    • Position a shop vac through the skimmer behind the liner. Turn on the vac and position the liner as the air is removed from behind it. Make sure the liner is wrinkle-free and smooth against the pool wall. If wrinkles form, shut off the vac and start again.
    • Begin adding water to the pool while the vac is running. When there is 12" of water in the pool, use a sharp razor to cut out the main drains.
    • Continue to fill the pool until there is 18" of water in the shallow end. Shut off the vac and remove.
    • Fill the pool up to the returns. Re-install return gaskets, skimmer gasket, and face plates. Use a sharp razor to cut away liner where necessary.
    • Fill the pool to the halfway point on the skimmer mouth. Start up your pool system.
    • Add your chemicals. Your pool is ready!

    TIPS

    • A very dark liner/pattern can heat a pool up to 7 degrees more than a light color/pattern.
    • Do not wear shoes or boots when walking on the new liner.

    WARNINGS

    • Always wear appropriate safety gear.
    • Be careful when using the shop vac and filling the pool--water and electricity are a fatal combination!
    • Take care not to make unnecessary cuts in the liner.

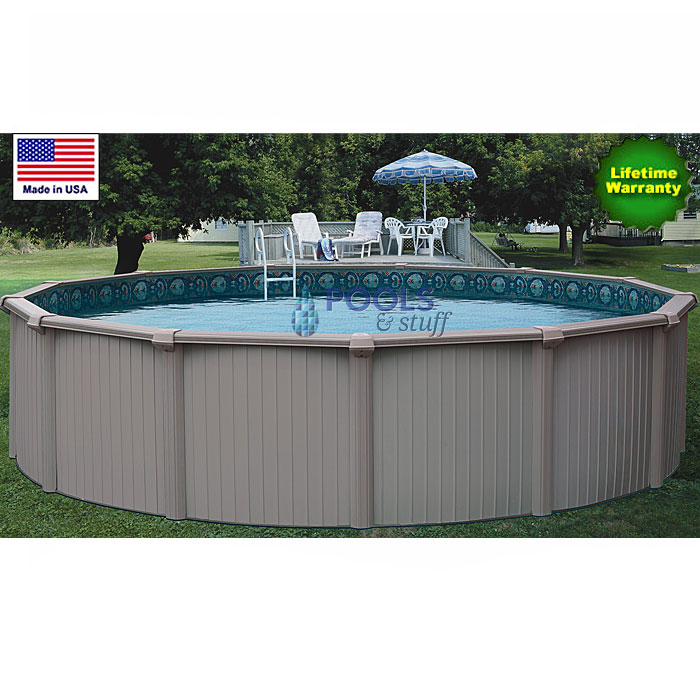
    Do you have an above-ground pool? We have a guide for installing above-ground pool liners here.

  • How to Replace an Above-Ground Pool Liner

    replacing an above ground pool liner Our Bermuda above ground pool is pretty great.

    The lifespan of your pool depends on the condition of its liner. This is why it's important to inspect the liner every year. Eventually, you will need to replace it. Don't be daunted! It's really not so bad.

    Our overall advice: hire a professional to replace the liner. It will cost you a little, but if you shop around you'll find that the cost isn't so bad. Just make sure you get someone who has the licenses and qualifications to perform the job. Always look for reviews and recommendations!

    But if you really, really want to do it yourself ... it's not so bad. Set aside a big block of time, get together the materials, enlist someone to help you, and follow our guide:

    Replacing an Above-Ground Pool Liner

    Before proceeding, measure and then re-measure the pool, then order the new liner. Try to avoid buying cheaper liners--the short-term savings may be attractive, but they may end up costing you more down the road. The thicker the liner the more durable it tends to be. Also consider investing in a liner guard to protect the liner from punctures or tears.

    • Drain all the water from the pool.
    • Remove all hung ladders and any other equipment that obstructs the liner area. Also remove all face plates, gaskets, lights, and etc. from the interior of the pool. Use this opportunity to inspect this hardware for cracks or wear that may indicate it needs replacement.
    • Remove hardware on the top end of the pool: seat clamps, ledges, top plates, the top rail, and etc.
    • Now for the fun stuff: remove the old liner. You may need to use a razor knife to cut the liner into smaller pieces.
    • Inspect the pool base and cove. Repair any unevenness or wash outs with masonry sand.
    • Remove duct tape from the wall bolt seam and re-tape it with fresh tape.
    • Sweep the inside of the pool thoroughly to ensure there are no pebbles or debris. Check for any sharp edges that might tear the new liner and either remove, file down, or tape over them.
    • Unroll the new liner in a clear, sunny area. The warmth helps the liner stretch during installation. Be sure to follow any instructions that came with the liner.
    • Seal the skimmer area with cardboard using duct tape on the outside of the pool wall. Also seal the water return and lighting holes with duct tape on the outside of the pool wall. Then insert 2 feet of a shop vacuum hose through the cardboard that covering the skimmer area. Duct tape it on until well sealed. Reinspect all the duct tape seals--they need to be really good seals!
    • Re-inspect the pool bottom and remove all debris--even the tiniest pebble can cause damage to your new liner!
    • Clip two wooden clothes pins to each upright.
    • Get some help with this next part to ensure you don't damage the new liner: Fold the new liner in half and place it in the pool. Unfold it carefully--you should be able to do this from outside the pool.
    • Pull the liner up over the wall about 6 inches and attach to the pool wall with the clothes pins. Now you want to evenly and carefully pull the liner further over the wall, removing and reclipping the pins as needed, until about 15 inches of the liner folds over the pool wall.
    • With a light touch, brush and tap the liner toward the walls. Inspect and adjust the liner as needed. Double check that the bottom seam is even all around the perimeter of the pool.
    • Attach a shop vac to the hose you previously attached to the cardboard in the skimmer area. Turn it on. It will suck the air out of the liner area. You want to release the liner as evenly as possible as it tightens by releasing and re-attaching the clothes pins as needed. Continue to gently brush and tap the liner toward the wall around the entire pool to remove wrinkles. Proceed in this fashion until the liner is seated and even with no wrinkles. If there are persistent wrinkles, shut off the vacuum and start over by reclipping the liner to the wall. Don't cheat!
    • Once the liner is set and wrinkle-free, begin filling the pool with water WITHOUT shutting off the vacuum. Fill until there is about 1 foot of water in the pool. Now you can shut off the vac.
    • Re-install all face plates and gaskets. Use your fingers to find the holes they used to go into and use a sharp awl to carefully puncture that area. With a sharp razor knife, carefully cut out the liner from the skimmer and light areas and remove all of your duct tape seals.
    • Finish filling the pool with water. Hook up the filtration system and pool accessories. Add your pool chemicals and you're done!

    PRO TIPS:

    It is super important that there be no wrinkles because wrinkles trap debris, make vacuuming the pool difficult, and they will eventually cause tears in the lining, greatly diminishing the lifespan of the liner and the pool itself.

    To clean the liner, you don't need to empty the pool. In fact, doing so can cause the liner to shrink or crack.

    WARNINGS:

    This guide is for above ground overlap vinyl liners without deep ends. If your pool has a variation in depth, please seek a professional's help in replacing your liner.

    Above Ground Pool Installation Videos

    Have an in-ground pool? Check out our guide on in-ground pool liners here.

2 Item(s)